Tuesday, April 3, 2018

Rearranging Walls... Again

When we bought the house there was a large storage/laundry room in the basement. My first thought was "Awesome!" and my next thought was "how can I improve this space?" It was a lot of wasted space because there was shelving on one wall, the washer and dryer on the back wall, and then a large empty space in the middle of the room. After deep brainstorming we came up with a remodel plan to better utilize the space. We decided to close up the doorway, turn the storage room into a bedroom and a smaller laundry room, and move the doorways into another area.
Whoever finished the house did a crap job of it. The walls in the basement were not straight and they didn't even have studs going vertically in some areas. It was quite a mess once we started digging into it.
Again, here is a picture of the house before we bought it. (I'm so glad I have these pictures from the home ad.)
That door on the right hand wall is the door that went to the storage area. The stairwell is on the right at the far end of the room. The bathroom is the opening across from the brownish couch. We closed off the doorway and sheet rocked that as a solid wall, and moved the entrance to the bedroom in the hallway. I hope that makes sense.


And it begins. We decided to add can lights all down this long room because there is no natural sunshine in this room (no windows!) and the ghetto shop lighting it had wasn't cutting it. There was three of those long light bars as I call them, and each ONE had a DIFFERENT SWITCH. Right when you come down the stairwell there was a light switch for the first light, then 15 feet down the wall there was a switch for the next light, and after the hallway opening yet another light switch for the last light. Who does that? It had to go. 


This is what we found when we opened up the above wall. 2x4's turned on their sides and going horizontally to support each other. 


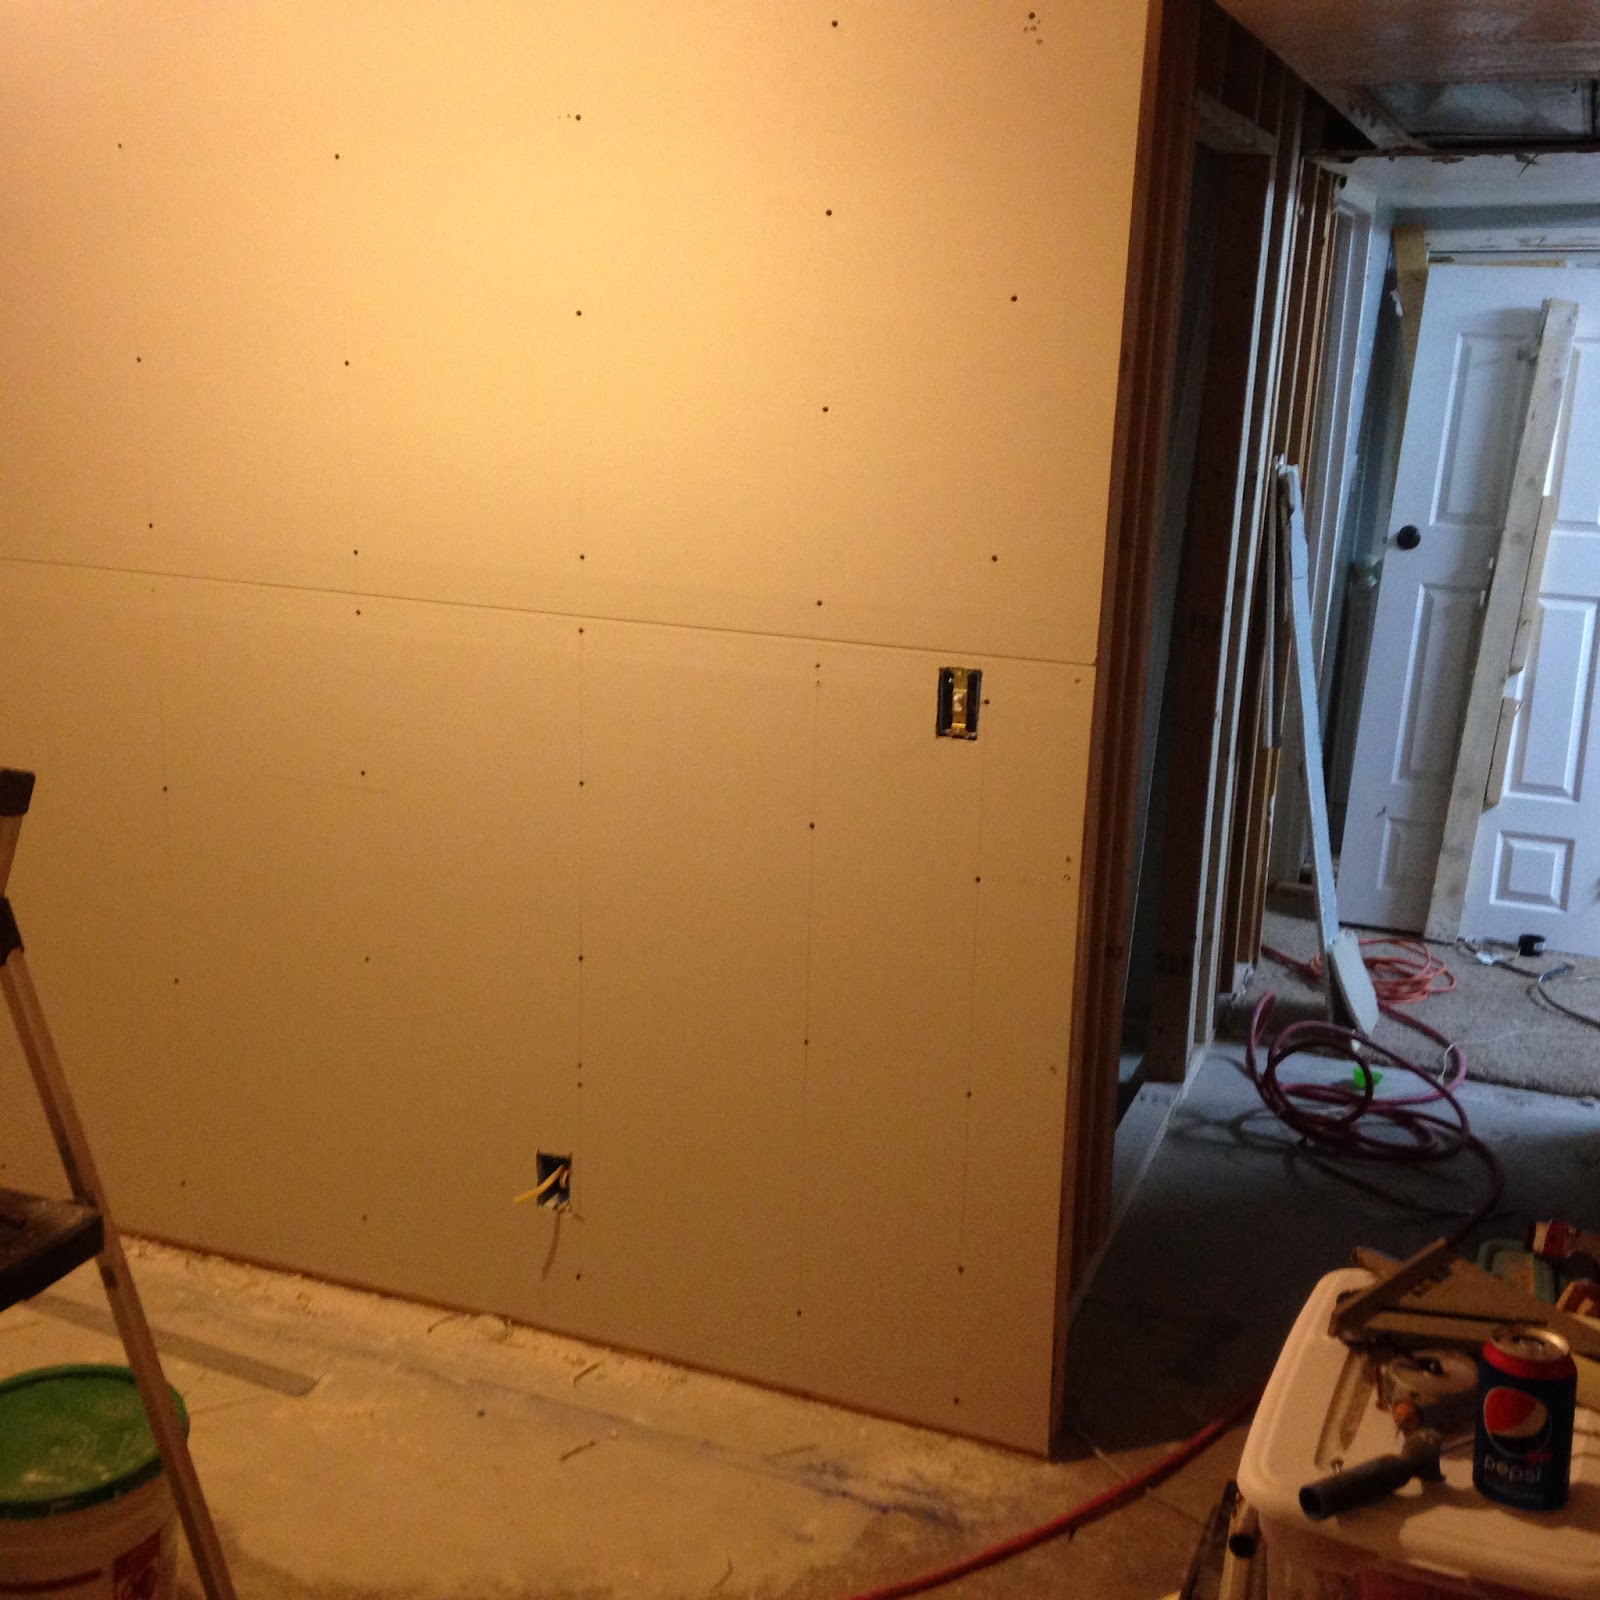
Again it was a long dusty process. In this picture you can see our can lights. They made a world of difference. 


This is the hallway we created. The first door on the right is the bathroom that was already there. Then the next door is the laundry room that we created, and the doorway at the end of the hallway is the bedroom we created. 


The view from inside the bedroom. 


None of the windows had been replaced in the old house, so we made sure to replace almost all of them that our budget would allow. We replaced the downstairs ones so if our kids needed to get out in an emergency they could. We replaced the windows on the front of the house for looks and efficiency of course. 


Inside the bedroom the stairwell had been sheet rocked over and hadn't ever been used. We opened that up and turned it into a closet because hey, it's wasted space otherwise. We were a little afraid we were going to find a body or something hiding under the stairwell that hadn't ever been recovered but thankfully we didn't. 


See that child hiding under there? We spent a LOT of time and money at good ole Home Depot. 


This is the finished view from inside the family room. A nice solid wall that makes a much more appealing background to our TV and focal point wall. We also changed the paint color which was making the basement seem more crowded and dark. We painted it a Alabaster white, installed all new trim and doors, patched the weird cut outs in the ceiling, and made everything look fresh and updated. 


And this is the bedroom that we created out of all of that wasted storage space. My husband put trim all around the closet entrance and window to make everything look finished. We couldn't put a closet door on because the wall was literally 2.5 inches off of the other one, so a door jamb wouldn't line up. I added shelving so my son could display all of his treasures, we hung his guitar up, and made it a much more efficient space. 


Let me also reassure you that we DID still have a storage room, There was an awkward bedroom that you had to pass the utility room/water heater to get to. It was in the back corner of the basement and had a lot to be desired. It had wood paneled walls and all. We decided to use that as a storage room because of it's location. The way we laid out the basement made so much more sense to us and I'm so glad we did.

Monday, April 2, 2018

Bathroom Remodel #2

Here's the before picture of our downstairs bathroom remodel in our old house. The floor was vinyl stick on squares, the shower seemed to be original, the sink was in the shape of a seashell, that was a lot to be desired. 


We added a bathtub to the bathroom by taking out the shower and building a stem wall to enclose the tub surround. We found the vanity on the local classfieids for a screamin deal, we framed in the existing mirror, painted the entire bathroom a new fresh coat of Alabaster white. We tiled the floor, and tiled the bathtub wall area. We also added several shelves behind the door for extra storage. There was shelving from top to bottom because it was an awkward space behind the door that otherwise wouldn't be used. 


It turned out fabulously! We were really pleased with the result. 

Painting Brick


Here is a reminder of what our home looked like when we bought it in December of 2015. It had great potential and needed some extra love. Once the weather was warm enough we set to work on the exterior. The house was already painted a light gray but it was hard to tell because the colors of the rest of the house overpowered it. I wanted to leave the gray but paint the brick. I told all of my neighbors about painting the brick and they were all terrified of what I was about to do. I did some research but mostly went out on a whim because I figured I couldn't mess it up THAT bad. 
I chose to paint it with Behr Exterior paint, matched to Alabaster White. I originally bought a different white color because I had used so much Alabaster inside, but I ended up only painting about a 3x3 area and hating it, so I went back to my trusty Alabaster color. 
We sprayed the brick all off with our power sprayer and let it dry so the surface was clean and ready to go. We didn't tape anything off, I just followed my husband with a cardboard box and put it up against the house to catch the overspray in the areas we didn't want painted. We used a cut up box to cover the windows too. 
We bought a paint sprayer when we bought the home, just a $100 Graco brand sprayer at Home Depot, and ended up using it to paint. The brick was extremely porous and there is no way we could've rolled or brushed it without destroying the brush or roller every 5 feet. We had to take a break with the sprayer every 15-20 minutes because it would start to get hot, but other than that it worked great.
We did a coat of primer on the exterior because the brick was red, and I do think it helped with coverage. Then we did an additional 2 coats of Alabaster and ta da! It looked FABULOUS. 
I had also given the door color a makeover because the previously blue wasn't my style. I went with a softer blue to tone everything down. I used an exterior paint from ACE (our only local hardware store) that is supposed to be guaranteed to never fade. I only bought a quart because I was only painting a front door so it was a cheap makeover. 


Our next step was to build up our pillars. They were these tiny weak little things and I hated the look of them. We added some fake pillars for looks, and built up the other ones, while also adding the trim at the top for a finished look. 


I built the shutters which is a really simple project, I didn't even use a tutorial I just winged the whole thing. I did measure my windows so I knew what size to make them, and then I stained them with an Espresso stain. I loved the way they turned out. 

I knew I wanted to put shakes on the peak of our house, and I spent some time researching costs but just didn't love anything I came across. Then one day while searching the classifieds I came across a FREE post for old shakes. Someone had torn them off their old roof and just wanted them gone. I sent my husband right over to gather old crappy shakes because they were perfect for what I wanted. 
My hubby put them up and it definitely finished the look of our house. I was in love. 


We paid for the wood for the pillars, the paint for the exterior, and the wood for the shutters. I estimate that the whole project cost us less than $200 and look at the change! 

Sunday, April 1, 2018

Kitchen Cupboard Makeover

 This was our kitchen when we bought the house. I honestly didn't mind the color of the cabinets, and they were really nice cabinets. However, that wall on the right that you can only assume is there, we took that wall out. I wanted the same flooring throughout our entire upstairs so that it flowed really well, so therefore we had to take out the kitchen tile. I wanted a dark hardwood looking floor (Pergo) and obviously that wouldn't look great with dark wood cabinets. So the whole thing needed a makeover.
I searched Pinterest high and low and decided to go with slightly off colors instead of painting the whole kitchen one color. I decided to do Repose Gray on the bottom cabinets and Alabaster White on the upper. It is such a slight difference that you almost can't tell, so in retrospect I should have just painted them all one color. Oh well.
I took off all of the bottom cabinet doors, hinges, and drawer fronts. I sanded them all down with an orbital sander enough that the finish was off. I laid everything down on some plastic in my living room because we were pulling that carpet up and I wasn't too terribly concerned about drips.
Then I got my trusty Valspar cabinet paint (link below) that I had color matched previously, and off I went. I did a lot of reading about cabinet painting and decided to go with a foam roller. It covered quite well and looked a lot more professional than a brushed look. There were a few areas that I had to gently sand down because they had a bubble effect going on, so after gently sanding them off I brushed that area again.
The cabinet paint doesn't require a finish so once I got all of my coats on (it took three!) they were done and I was oh so glad. I ended up putting the same hardware back on because I didn't mind it, and they looked fabulous!


Kitchen Before (pictures from when we bought the house)


After I painted the bottom cupboards Repose Gray


The next day (or maybe it was a few days later) I tackled the upper cupboards. I took everything off and started the process all over. The white didn't cover as well as the gray so it took an additional coat. 


Yep that's my kitchen mess but at least you can see both of the colors of cabinets. It's the slightest difference. 

And here's the pro pics we took when we listed the house. I was in LOVE with those cupboards. 
After two years of heavy use the paint held up really well. I touched up a few areas before listing, but I honestly was pleased with how well it held up. I will be using it again. 


https://www.lowes.com/pd/Valspar-Cabinet-Enamel-Semi-gloss-Latex-Interior-Paint-Actual-Net-Contents-124-fl-oz/999918096

The great thing about this paint is it's a bit more pricey ($50 a gallon) but it went a LONG way. I used it to paint our stair railing, two pianos, bathroom vanities, and more! 


Taking Out A Wall

When we walked through our house I had a vision of what I wanted to do to the house. It included taking out a wall and opening up the entire living area/kitchen. That was the first project we tackled once we moved in. We even let the kids help us with demo.

This is the main living area before we purchased the home.


We consulted with an engineering firm beforehand to make sure the wall wasn't load bearing, and it wasn't. So off we went. 

We gave them hammers and let them have at it. 


You can see that there was also a wall in the kitchen that went around the stairwell. We were taking all of this out, and replacing it with an actual banister. 


We also pulled up the carpet in preparation to lay down a new floor, and found hardwood floors underneath. However they weren't in fabulous shape and there wasn't any hardwood in the kitchen. After calculating costs we decided it would be cheaper to lay Pergo down over everything then try to refinish the existing wood and lay down new wood in the kitchen. Not to mention the pain of refinishing the wood floor. 


It was a long process and we were living in a dust zone for about two weeks while everything was finished up. 
Notice the kitchen table tipped over to block our staircase while we didn't have a railing up. Yep, ghetto right? 


I was over the moon excited when we were able to get working on the banister. My kiddos always want to help their dad work and he is so patient to let them. 


We ended up patching the ceiling where the wall had been, patching the wall where the wall connected in, and we had already planned on laying new floor down so that patched right over the floor where the wall had been. Overall it was DEFINITELY worth it. 


It turned out FABULOUS. We put matching ceiling fans in to make the space more cohesive. We lightened everything up with a good ole coat of paint. The paint I used throughout the entire house (almost) was Alabaster White from Sherwin Williams, although I matched it at Home Depot and used Behr paint because it was more cost effective. 
The railing was painted in Repose Gray as well, with the same cabinet paint from the bottom kitchen cabinets. Win win! 
Our flooring was Pergo flooring from Home Depot. 

https://www.homedepot.com/p/Pergo-XP-Coffee-Handscraped-Hickory-10-mm-Thick-x-5-1-4-in-Wide-x-47-1-4-in-Length-Laminate-Flooring-13-74-sq-ft-case-LF000739/204735351

I really REALLY loved the look of this flooring, when I could keep it clean. With five kids it wasn't always clean, but hey, I tried. 

House #2

In December of 2015 we closed on our second home, but it felt like our first because we had been in school and renting for so long. It was a 1962 gem that needed a lot of love. It had fabulous potential though and was within our price range. Better yet, we felt like this was where we should be so we signed on the dotted line and immediately began our projects.


One of the first things we attacked was the upstairs bathroom. It wasn't awful but it had the original vanity in there, sink and all. That sink was pink by the way. The bathtub had been updated as well as the toilet. The tile was a nice neutral tile but because we were pulling out the vanity and didn't have any scrap pieces to patch with, we ended up pulling out the tile as well. 


We pulled out the vanity... 


and started pulling up the tile only to find there had been some leakage over the years. 


And it was nasty. 


So we dried the floor out with some fans, my hubby patched it up, and off we went again. 
We laid down the new backer board and started on the tile. 


We chose Montagna Dapple Gray from Home Depot and ended up loving it. Also, you can see the (fake) shiplap we added in this picture, post to come! 


We also used a dresser we had previously refinished, and Travis cut a hole for the sink. We ended up using one of those trendy above counter sinks which I LOVE the look of but wasn't practical for my little kids. It was too high for them to reach. 
We also used some wood scraps to frame in the mirror that was already there. It's a whole new bathroom. 


link for tile: https://www.homedepot.com/p/MARAZZI-Montagna-Dapple-Gray-6-in-x-24-in-Porcelain-Floor-and-Wall-Tile-14-53-sq-ft-case-ULM7/205216805


Refinishing Pianos

I have refinished three pianos in my day, and while it is kind of a pain it is most certainly worth it. The first piano we had while renting a home and when we ended up moving into low income housing while in school, we had zero space to put our piano. I ended up selling it to my sweet friend but not before I snapped a pic of this beauty. 
It was a typical old brown piano. We took it apart in the garage so that we could more easily paint all of the pieces. We took off the top of the piano, and the front pieces that have hinges or open and close. We also removed keys so we could make sure we got a nice coat of paint down in the hard to reach areas without getting paint on our keys.  I painted it with Behr interior eggshell paint, and finished it with Minwax Polycrylic. It turned out beautifully. 


After my husbands Grandma passed away we were inheriting her piano. We had another piano, the exact same color, and sadly I can't find a picture of it anywhere! So the picture below is the piano we inherited from Grandma. I hope she didn't roll over in her grave when I painted her piano. It's painted Repose Gray from Sherwin Williams, but I matched the color in Valspar because I love their "cabinet paint." It's supposed to be extra durable and it doesn't require a finish. I got it at Lowes and have used it on SEVERAL projects including cupboards, bathroom, vanities, and pianos. 


link to Valspar cabinet paint: https://www.lowes.com/pd/Valspar-Cabinet-Enamel-Semi-gloss-Latex-Interior-Paint-Actual-Net-Contents-124-fl-oz/999918096